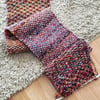
Concoct a little stash-busting magic with this texture- and colour-shifting design!
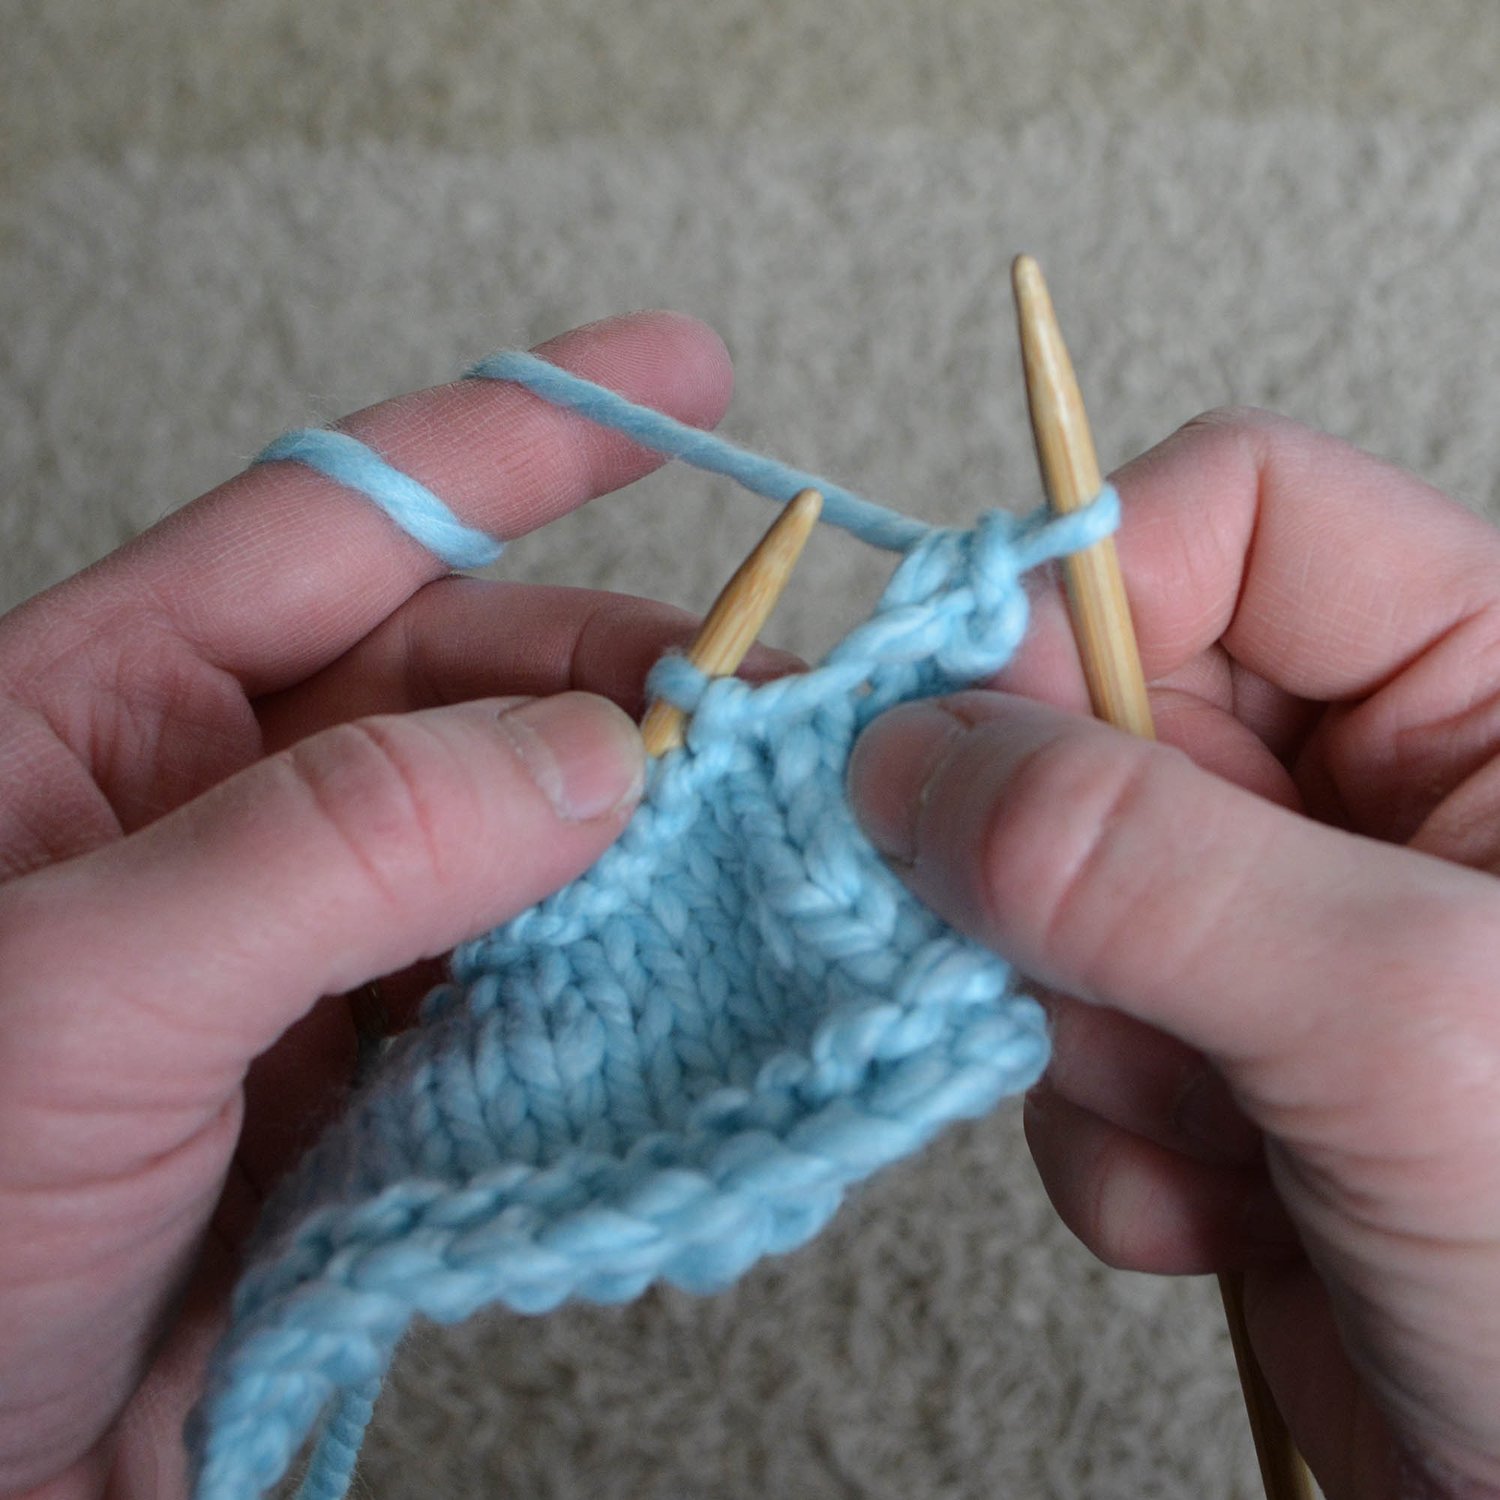
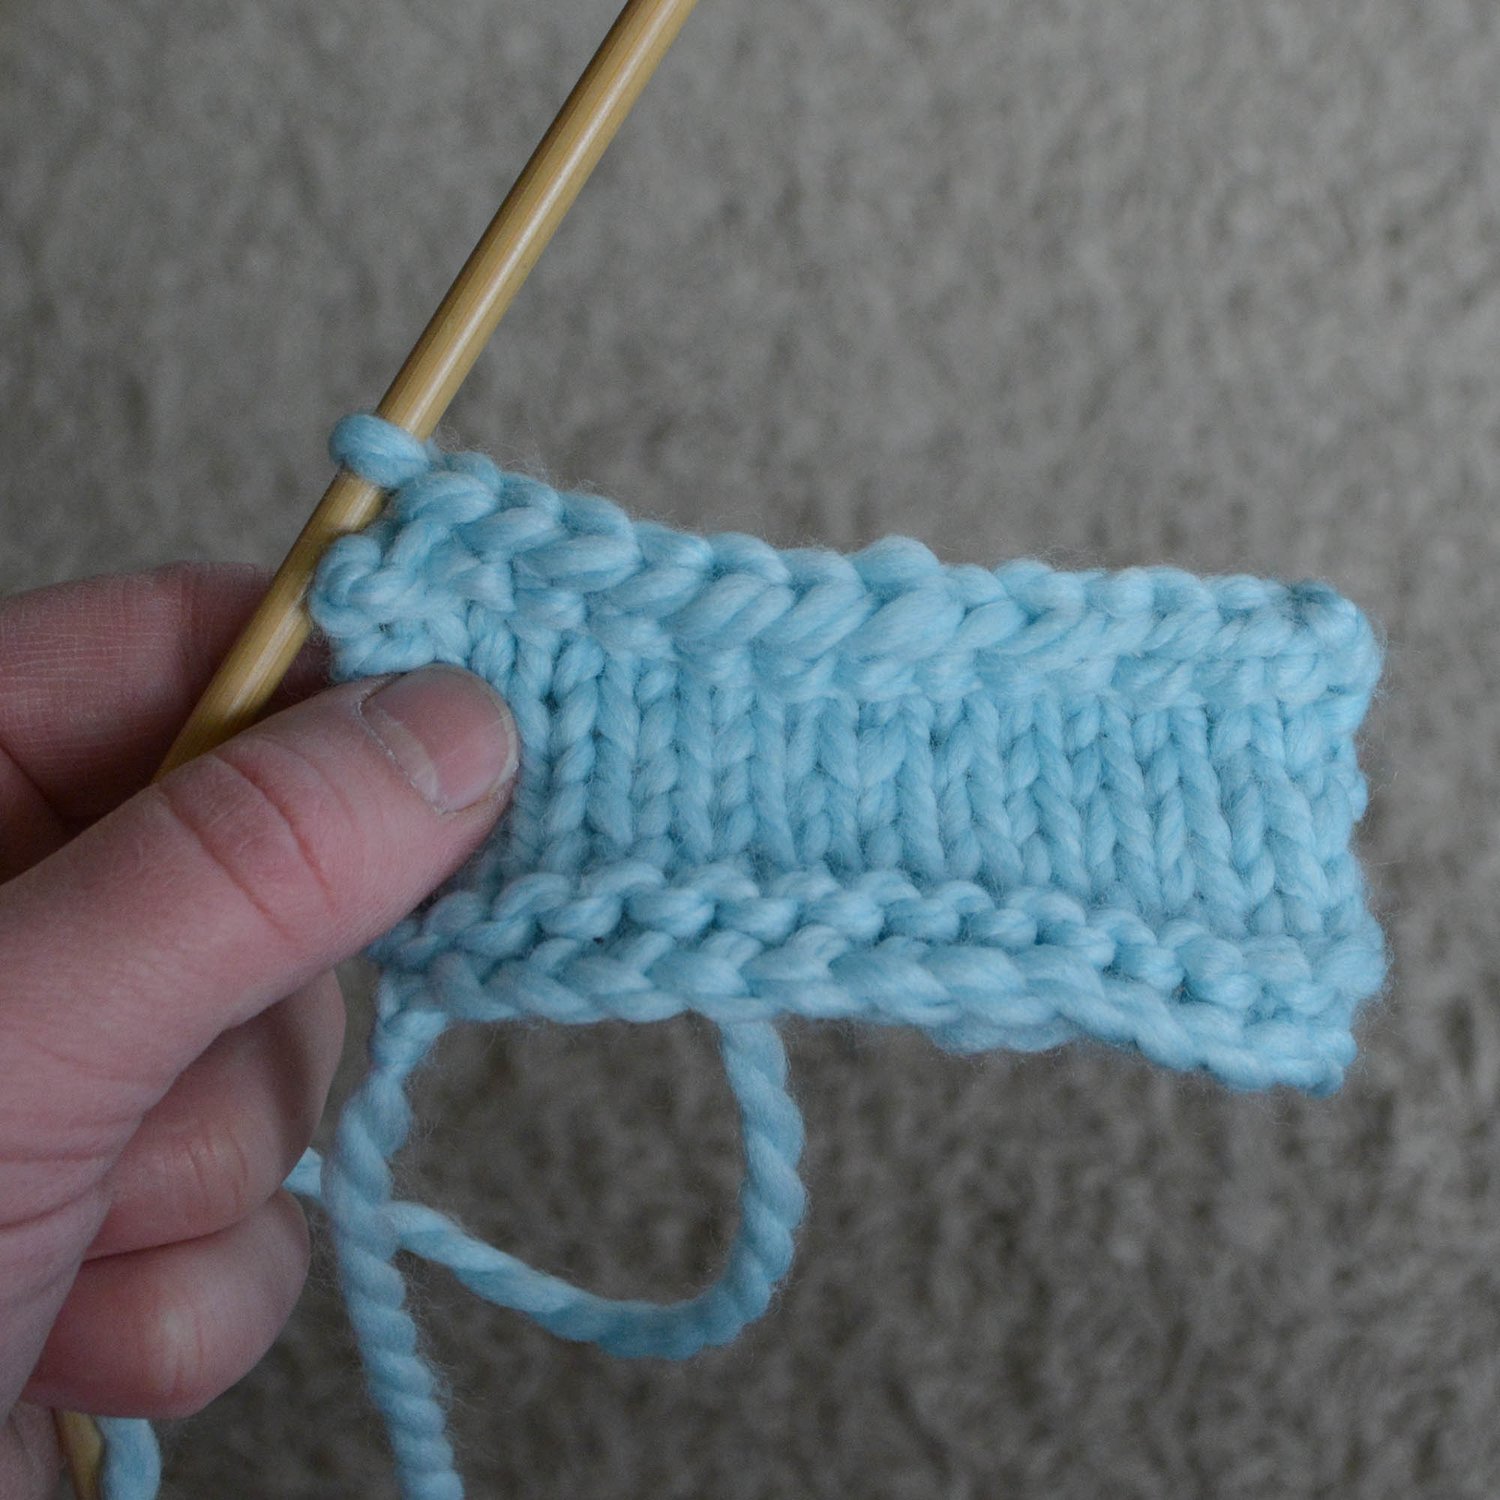
Use up your odds-and-ends of worsted- and fingering-weight yarn to make a cowl or scarf that’s as mesmerising to look at as it is cozy to wear. Seed, basketweave, and half-basketweave stitch alternate for subtle changes in texture. Colours grade as you move from one yarn end to the next, especially if you incorporate self-patterned or colour-shifting yarns. Or choose a solid colour and let the texture shine.
Knit flat (back and forth) to desired length, then bind off for the scarf or graft for the cowl. Gauge is flexible, just like this pattern!
So dig into your stash and cast on today!
PROJECT LEVEL: Advanced Beginner
—
Digital download includes:
- PDF (standard) - best for printing or for sighted knitters
Refer to “Accessibility” below for more information about file types.
About Design
Construction
Scarf and cowl are worked by casting on at one end and working back and forth. Scarf is bound off. Cowl is grafted to cast on stitches.
Variants
- Single- or double-wrap cowl
- Scarf
Sizes
- Single-wrap cowl: 30 inches (or 75 cm)
- Double-wrap cowl & scarf: 60 inches (or 150 cm)
Supplies
Yarn
This pattern is designed to use up bits of common yarn weights you probably have in your stash. To do that, choose a combination of one of the following, which will be held together and knit on chunky needles:
- 2 worsted-weight yarns
- 1 worsted-weight yarn and 2 fingering-weight yarns
- 4 fingering-weight yarns
You will need approximately 250 yards (or 229 metres) of the bundled yarn for the double-wrap 60-inch (or 150-cm) cowl or scarf (half this for the single). In other words, each yarn in the yarn bundle will need 250 yards (or 229 metres). (E.g., if you use 2 worsted-weight yarns, you will need 250 yards [or 229 metres] of each strand, not a total of that much.)
Because different fibres have different weights, I can’t include an accurate weight to go by. You’ll have to do the math. But if you have plenty of stash yarn to choose from, just keep going until you finish the pattern.
Yarns can all be the same colour (if you have enough), or you can create a fun colour shift by working in different colours as you go. Variegated or self-patterning yarns add another twist. Have fun with it! That’s why it’s a potion!
(Just to give you some idea, if you want to use two worsted strands, you will likely need between 250 to 300 grams of yarn. My multicolour sample, which was made with four strands of wool-blend sock yarns from various manufacturers, weighs 323 grams.)
Needles
- 10.0 mm (or US 15) straight needles. (12 inches [or 30 cm] long is best.)
Notions
Gauge:
12 to 12.25 stitches and 17 rows = 4 inches (10 cm) over stockinette stitch. Gauge is not extremely important for this pattern.
About Samples
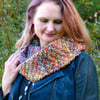
Multicoloured Cowl:
Four strands of wool-blend sock yarns from various manufacturers held together. Colourways shifted throughout the cowl. Overall, more than eight different yarns were used.
- Variant: Double-wrap cowl
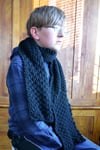
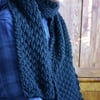
Black Scarf:
Two strands Bernat Satin Solids held together, a 100% acrylic aran-weight yarn with 183 metres (or 200 yards) in 100 grams (or 3.53 ounces) that works up to 18 stitches in 4 inches (or 10 cm) on 5.0 mm (US 8) needles. Used most of four balls.
- Colourway: Ebony
- Variant: Scarf
Techniques & Resources
Skills you will need:
All other required stitches are explained.
Techniques used:
Included resources:
- A comprehensive list of links to online tutorials on my website for necessary skills. Tutorials are screen-reader accessible, with instructions relayed fully in text, and also include videos and downloadable photo tutorials.
- Full glossary
- Written instructions
Publishing Information
Release Date: 2019
Publisher: My Secret Wish Publishing
Knitting pattern type: Multiple Design Options, Multiple Yarn Weight Options
Project type: Cowl, Scarf
Page Count: 5
COPYRIGHT AND LICENSING NOTICE:
This pattern is copyright My Secret Wish by Talena. Your purchase of this pattern gives you the right to use it for personal, non-profit use only. To license the pattern to use for profit, please e-mail me for permission. You do NOT have the right to print the pattern for other people (unless they reside in your household) or to transfer the digital file to any other person. This pattern may not be sold, copied, or distributed in any way.
Update History
May 31, 2023:
- Revised formatting of PDF to align with current template style.
- Clarified language where necessary.
- Converted PDF to be screen reader accessible.
- Updated URLs for new store and social links.