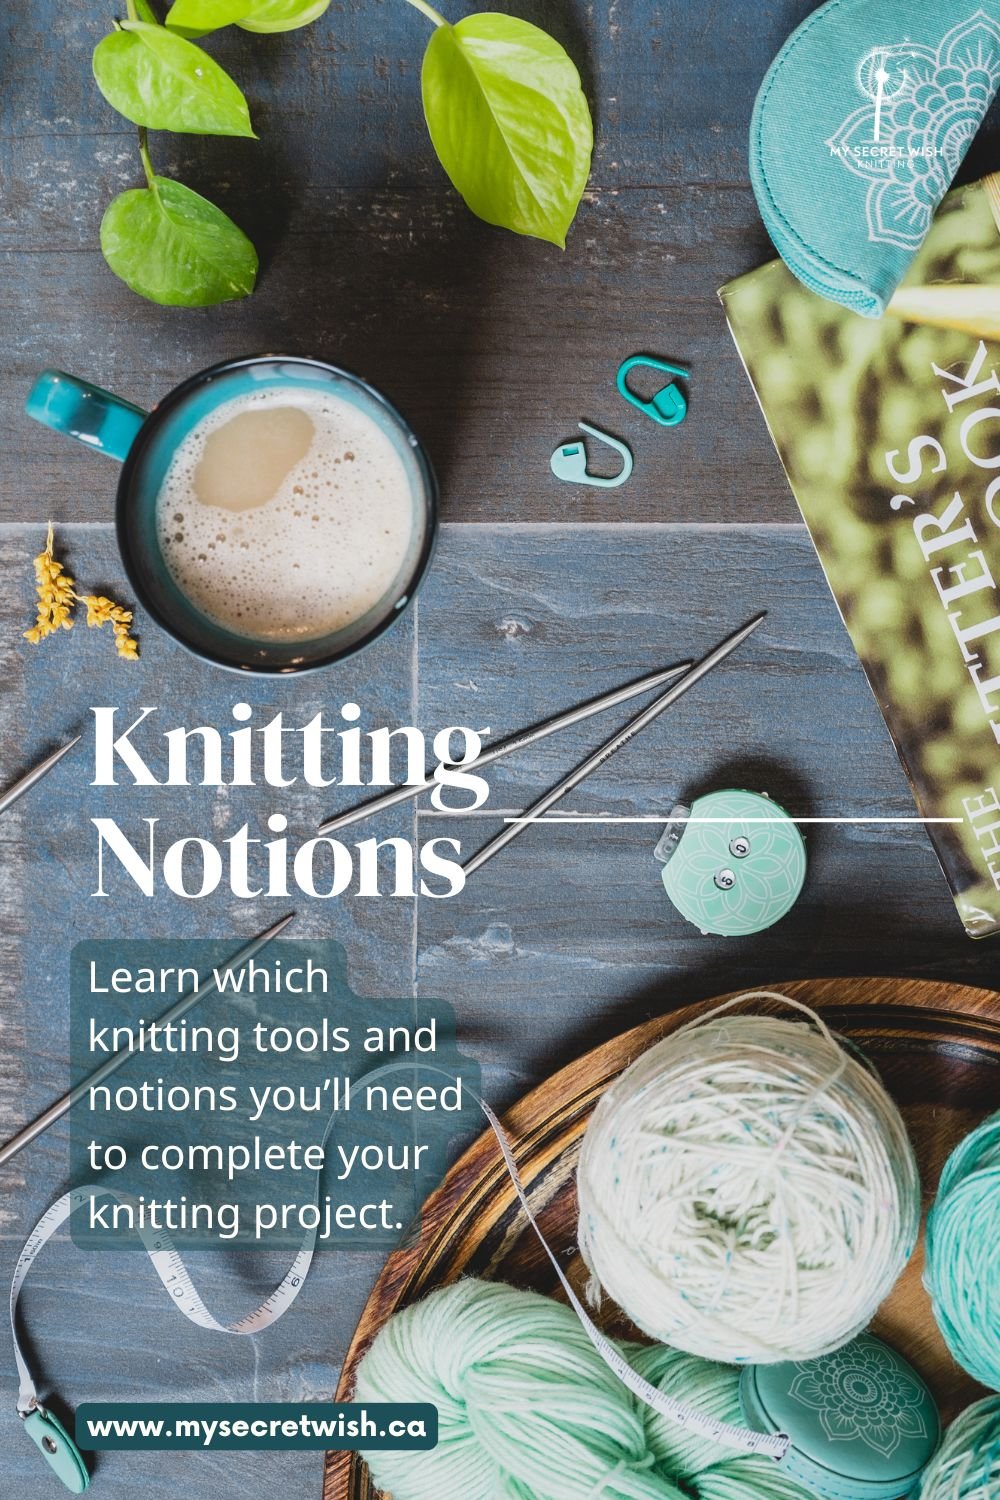
Knitting Notions
Learn which tools and notions you’ll need to complete your knitting project.
Adapted from How to Knit Lesson Three. Get the complete tutorial at the link below.

Learn which tools and notions you’ll need to complete your knitting project.
Adapted from How to Knit Lesson Three. Get the complete tutorial at the link below.
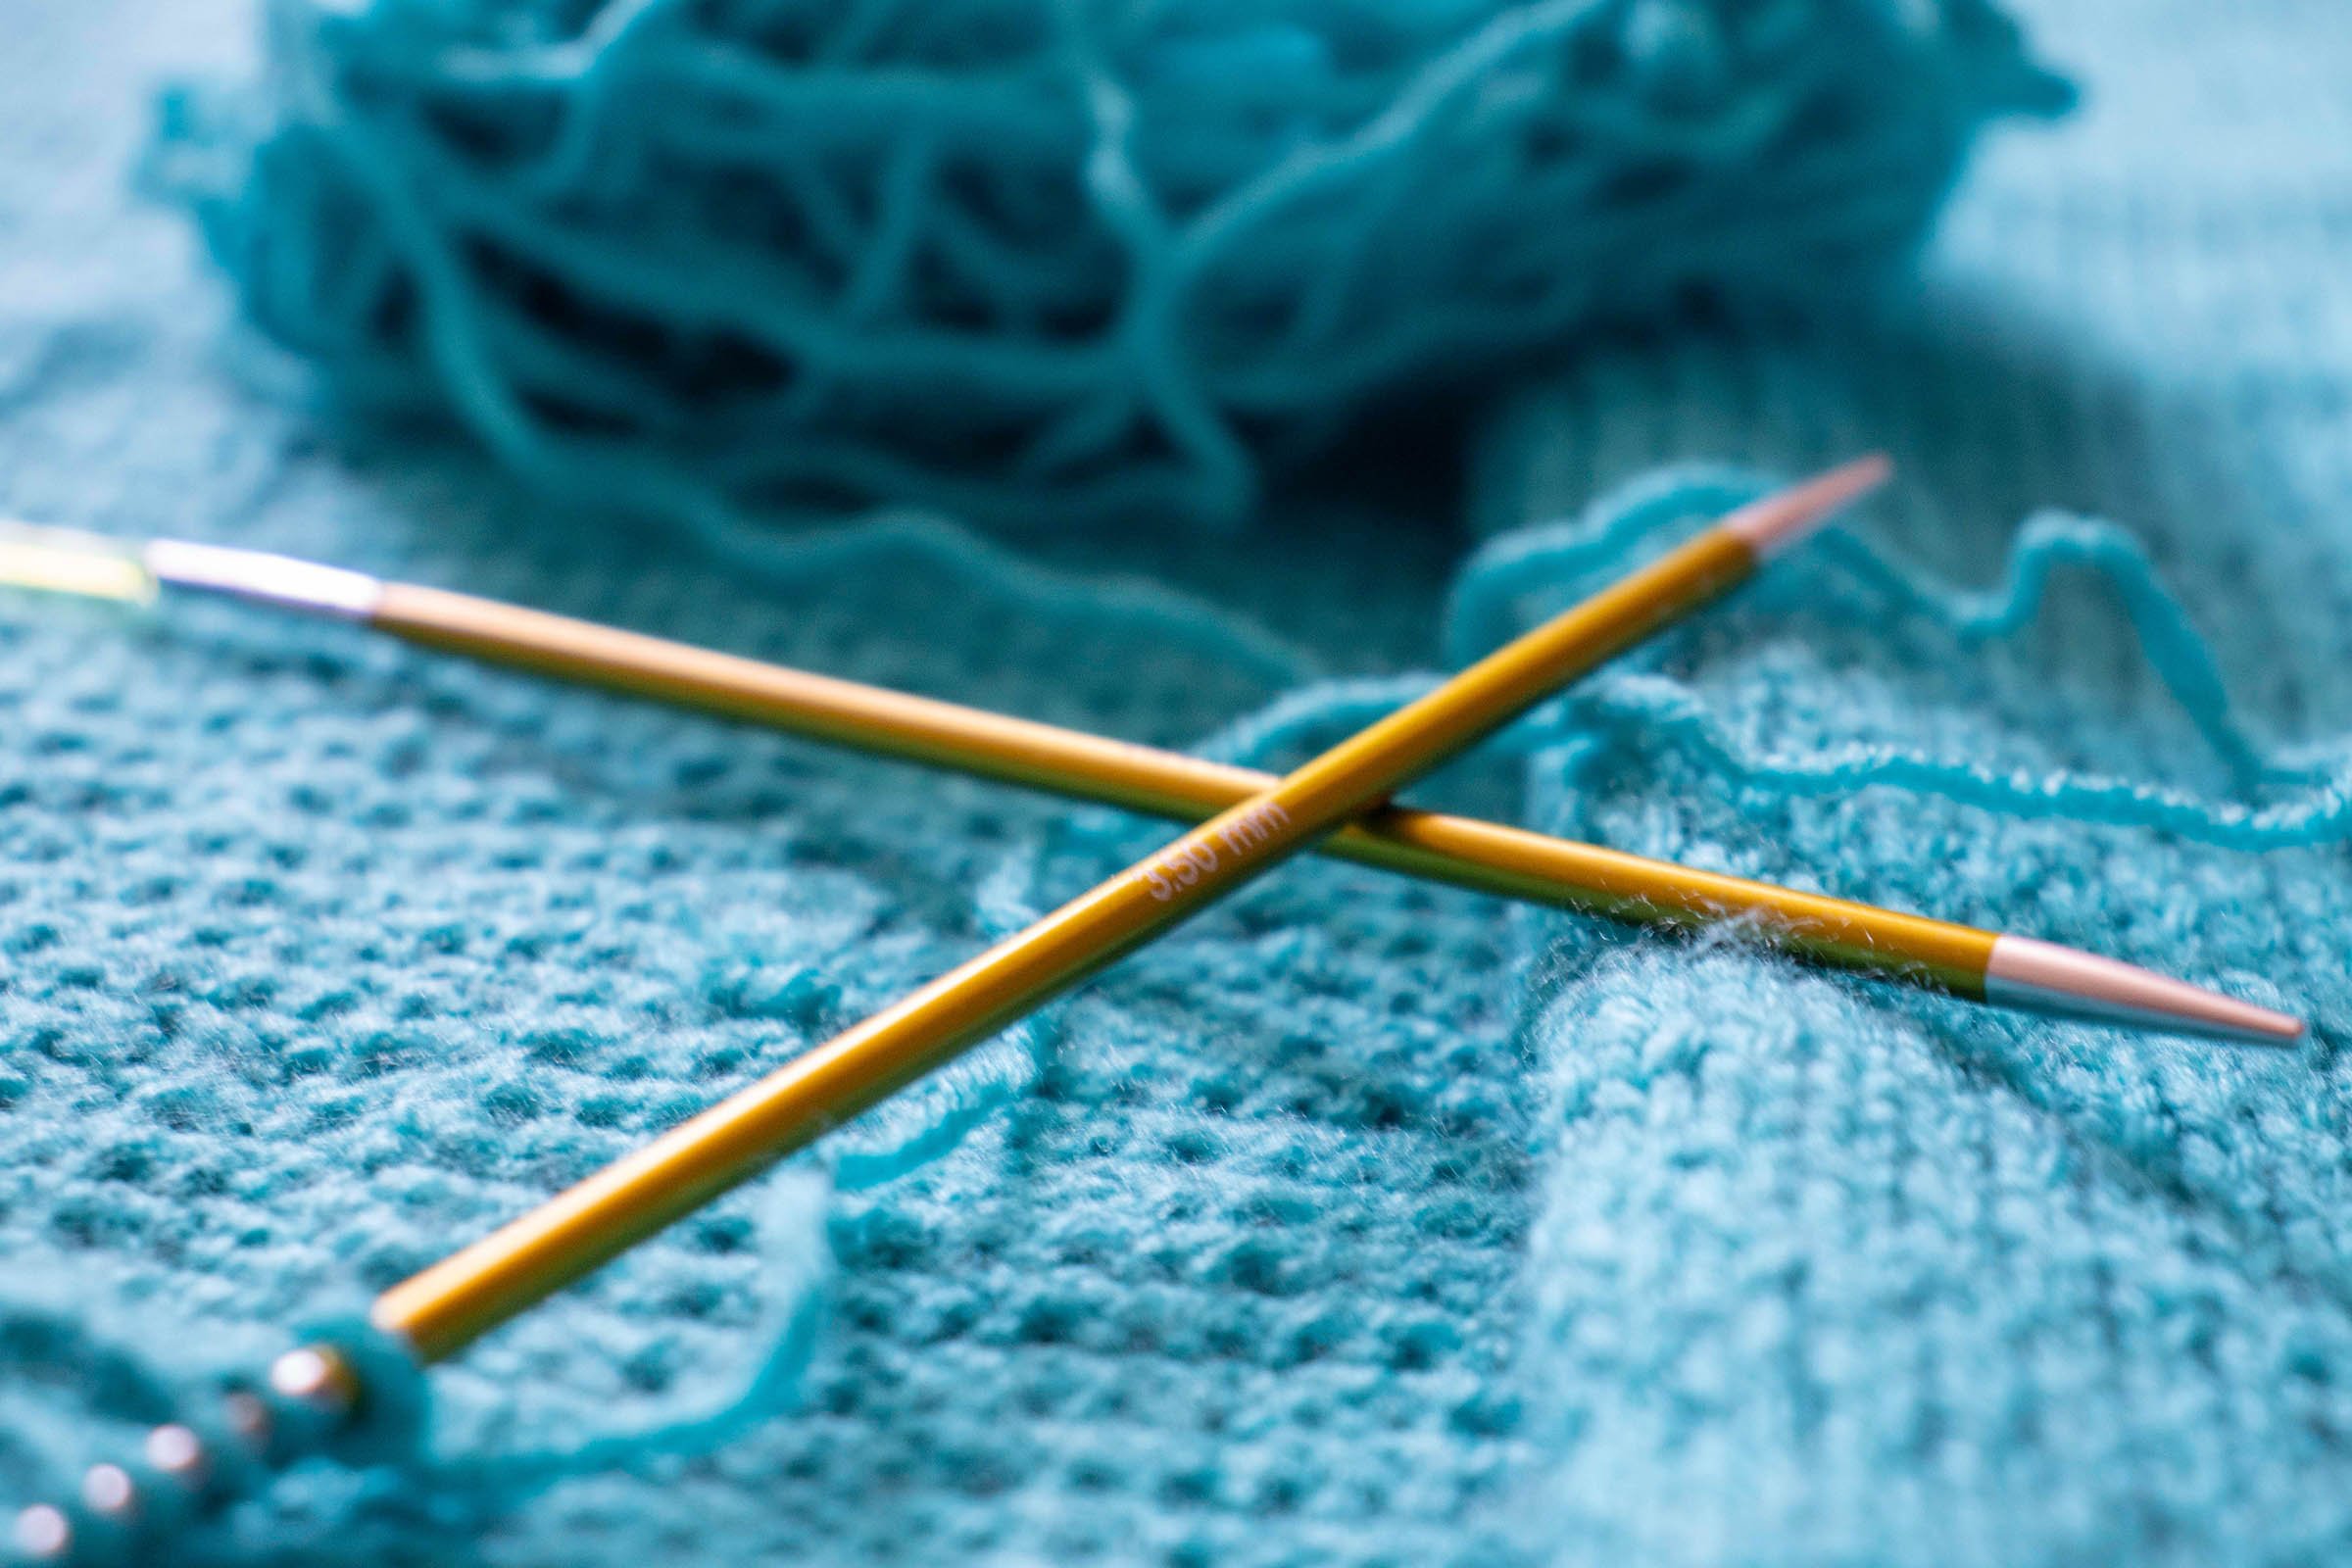
Yarn and needles aren’t the only tools you’ll need to create your project. Most patterns also call for notions. These are the “extras” you’ll need, such as buttons, stitch markers, or special needles like cable needles. Tools like scissors and a measuring tape are needed for every project, so they’re not listed.
Pick these up as soon as possible:
Small pair of scissors: Use case is obvious.
Flexible measuring tape: An essential tool for creating proper fit, both in taking measurements on your recipient and your project. Try to find one that includes both imperial and metric, if possible.
Stitch markers: Used to mark distances, either in number of stitches or in length, round starts, or stitch pattern changes. The simplest stitch markers could be small safety pins or scraps of yarn tied into loops, but there are a whole array of beautiful and practical stitch markers available for sale.
Stitch holders (when called for): These can be scraps of yarn strung through the stitches with a yarn needle or something more rigid, such as a safety-pin style marker that’s easy to slip stitches on and off of and which will keep them contained when not in use.
Row counters: When it comes to pattern repeats, you can mark these on your pattern with a pencil (a good reason to photocopy a pattern from a book you own instead of marking up the book), or use a row counter dedicated to the purpose. If you use a row counter, just remember to change the count after every round! (For most pattern repeat tracking, I prefer to avoid row counters by reading my knitting instead.)
Pen or pencil for pattern marking: Besides keeping track of pattern repeats, you can also use writing tools to make notes to yourself—such as noting the length of the sock foot when you started turning the heel so you can duplicate it on the second one, for example.
Cable needle (when called for): As covered in Choosing Needles, cable needles are used when knitting cables. Keep a large-diameter and a small-diameter one in your notions kit to be ready for cables in any yarn weight.
Tapestry or yarn needle or two: Used to weave in ends or work duplicate stitch or embroidery. Again, keep a large and a small one for different yarn weights and types of projects.
Crochet hook or three in a few different sizes: Used for picking up stitches and working certain types of cast ons, such as Provisional Cast On.
Point protectors: Used to keep work from sliding off the needle in your project bag. You’ll need different sizes for very small or very large needles. (I’ve found these to be only semi-effective, as the point protectors tend to fall off if you and your project bag live an active lifestyle.)
Needle gauge: As mentioned in Choosing Needles, a needle gauge is a small ruler-like or disc-like tool punched with holes in ascending sizes that you can use to determine the size of a needle.
It’s a good idea to keep your notions together and handy in a small pouch or case. This is your notions kit.
When choosing a notions kit, you can purchase one specially designed for the purpose. Pouches designed for knitting notions are often leather, pleather, or have a duct-tape-like fabric to prevent needles from working their way through.
Alternatively, use a rigid plastic pencil case or a sturdy, densely woven cloth pencil case not likely to be pierced by sharp needles. I’ve even used good ol’ Ziploc freezer bags—they get poked full of holes pretty quickly, but they’re cheap to replace.
Smaller notions such as stitch markers and tapestry or yarn needles are best contained in an even smaller container inside your kit. An old-fashioned lozenge tin works great.
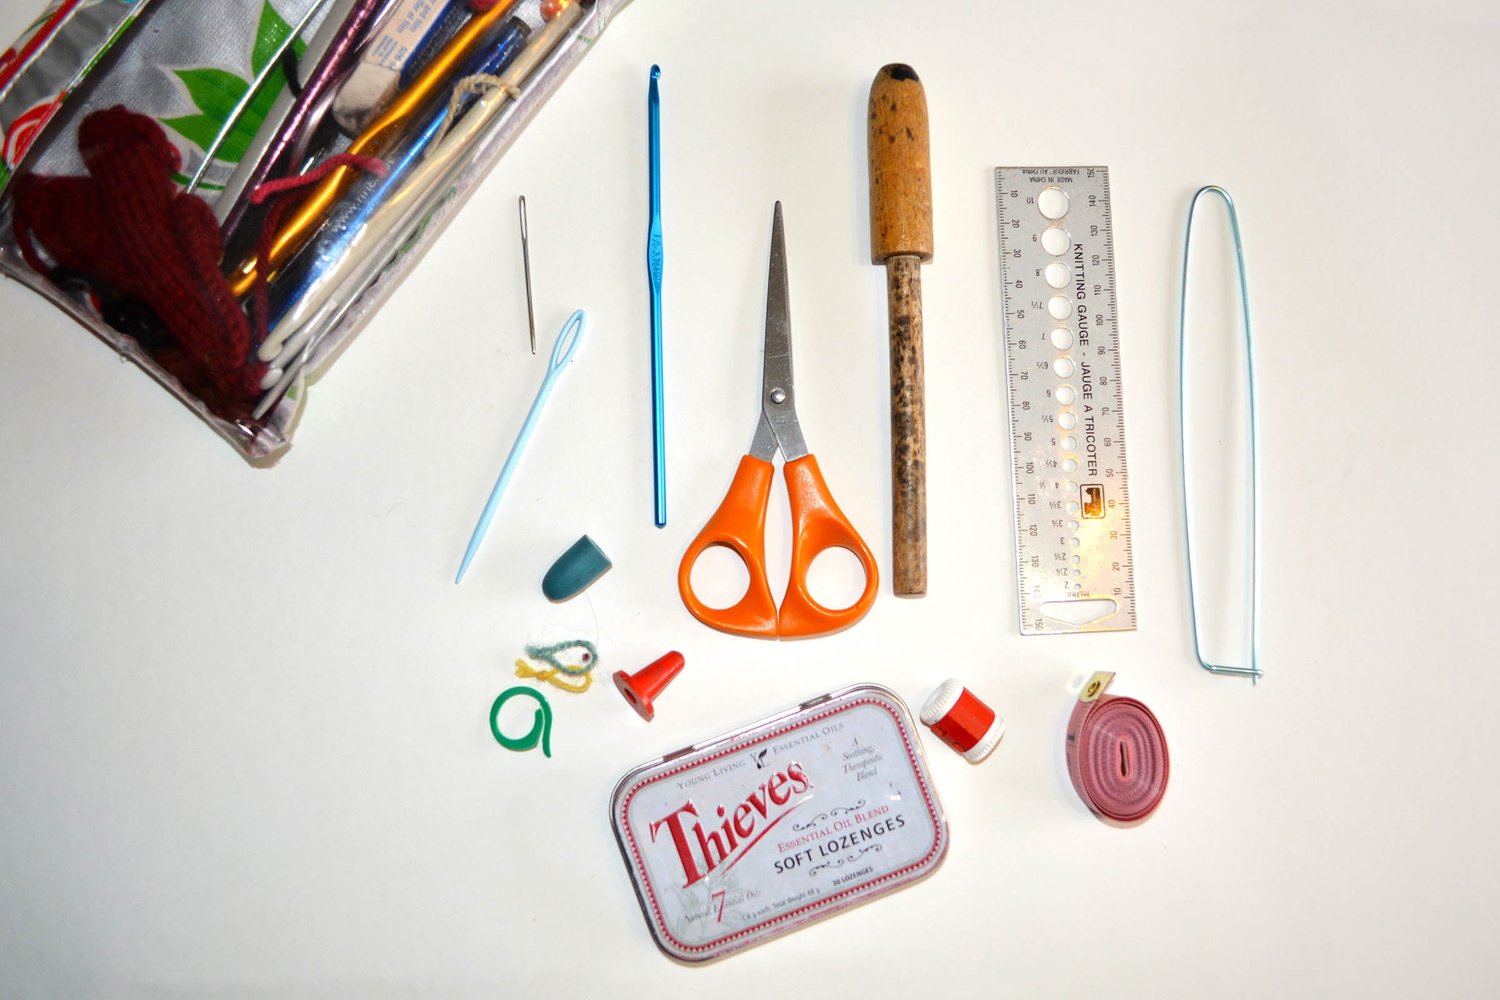
My notions kit is a little overworked, but here are a few of the basics you may want to include in yours. From roughly left to right, the items in this photo are: a knitting notions pouch, two yarn needles, stitch markers and point protectors, a blue crochet hook, a tin for holding small notions, scissors, finger darning form, a row counter, a needle gauge, a flexible measuring tape, and a rigid pin-style stitch holder.
I inherited the antique wooden finger darning form from my husband’s grandmother. Super handy when weaving in yarn tails on the inside of fingers!
Return to How to Knit index:
Hi! I’m Talena Winters (a.k.a. the Yarn Mermaid).
I started My Secret Wish Knitting in 2010 to empower and delight knitting heroes like you who want to elevate your knitting and make magic with yarn. When I’m not concocting new yarn potion recipes, I’m creating story magic as a fantasy and romance author and fiction editor (at talenawinters.com). I live with my family and pets in the Peace Country of northern Alberta, Canada, where sweater weather lasts at least nine months a year and my closest neighbours are bears and wood nymphs.
This website is a labour of love by a team of one (me!). If you found value here, please support the effort by purchasing a pattern. If you want more knitting magic, check out my community events and newsletter in the Knitting Circle. We’d love to have you!