3 Tips for Better Circular Knitting
Knitting in the round, or circular knitting, is one of my all-time favourite styles of knitting. What’s better than casting on and then going round and round until you’re done?
However, there are a few challenges with circular knitting, such as difficulties with tension, the dreaded “laddering” effect where your needles meet when using double-pointed needles, or simply knowing how to accomplish the feat in the first place. (And the purl haters are saying “don’t forget the purl stitch!” I happen to enjoy purling, but we’ll tackle ways to increase your purl love in another post.)
In this post, I’m going to give you my top five tips for creating beautiful circular projects, so you can fall in love with circular knitting too!
Onward.

Tip #1: Use the right needles for the job
Circular projects come in all shapes and sizes, from sweaters in the round to sleeves to hats to socks and mittens. And let’s not forget fingers on gloves or even I-cord. Each of these projects has a different circumference, and circumferences can even change throughout the project.
To create a pleasant knitting experience, it’s helpful to know which needles to use when.
When it comes to knitting in the round, you have two options:
Double-pointed Needles

As the name suggest, double-pointed needles (or DPNs) have points on both ends. They often come in sets of four or five, allowing you to hold stitches in the round (though they’ll look like a triangle or square shape on the needles) while having one free needle to use as your working needle at all times. (Some DPNs come in sets of six, but the sixth is usually a spare in case one of the other ones breaks.)
Circular Needles

Circular needles have two rigid needle tips connected by a flexible cable. The tips can be fixed, meaning they can’t be removed from the cable, or interchangeable, such as these ones. Interchangeable needle tips can be swapped out to use many different sizes with one cable, or to use the same needle tips with cables of different lengths.
If you’re new to the different types of needles and how best to use them, I go into much more depth in my tutorial about How to Choose Needles, which you can see here:
While both types of needles come in a wide variety of lengths, you’ll be hard-pressed to find double-pointed needles longer than ten inches (or 25 cm), and the shortest circular needle cable is usually 16 inches (or 40 cm).
I have some vintage DPNs that are 14 inches (or 35 cm) long, but I’ve never seen any modern options this length. That’s because working with rigid double-pointed needles at longer lengths for projects like sweater bodies is awkward and ungainly. Once circular needles were invented, I suspect these longer DPN options fell out of fashion.
But manipulating the rigid ends of circular needles requires you to have enough cable to be able to turn the needle tips back toward themselves, so you can’t really have a cable shorter than 16 inches. However, you can use a cable as long as 42 inches (or 107 cm) for pretty much anything.
That’s why, traditionally, double-pointed needles have been used for small-circumference projects, and circular needles have been used for larger ones. Frankly, I prefer double-pointed needles, and will use them whenever a project circumference allows for it. Not everyone does, but if you’re starting out with circular knitting, I recommend you give double-pointed needles a try. (Find a tutorial about using them here.)
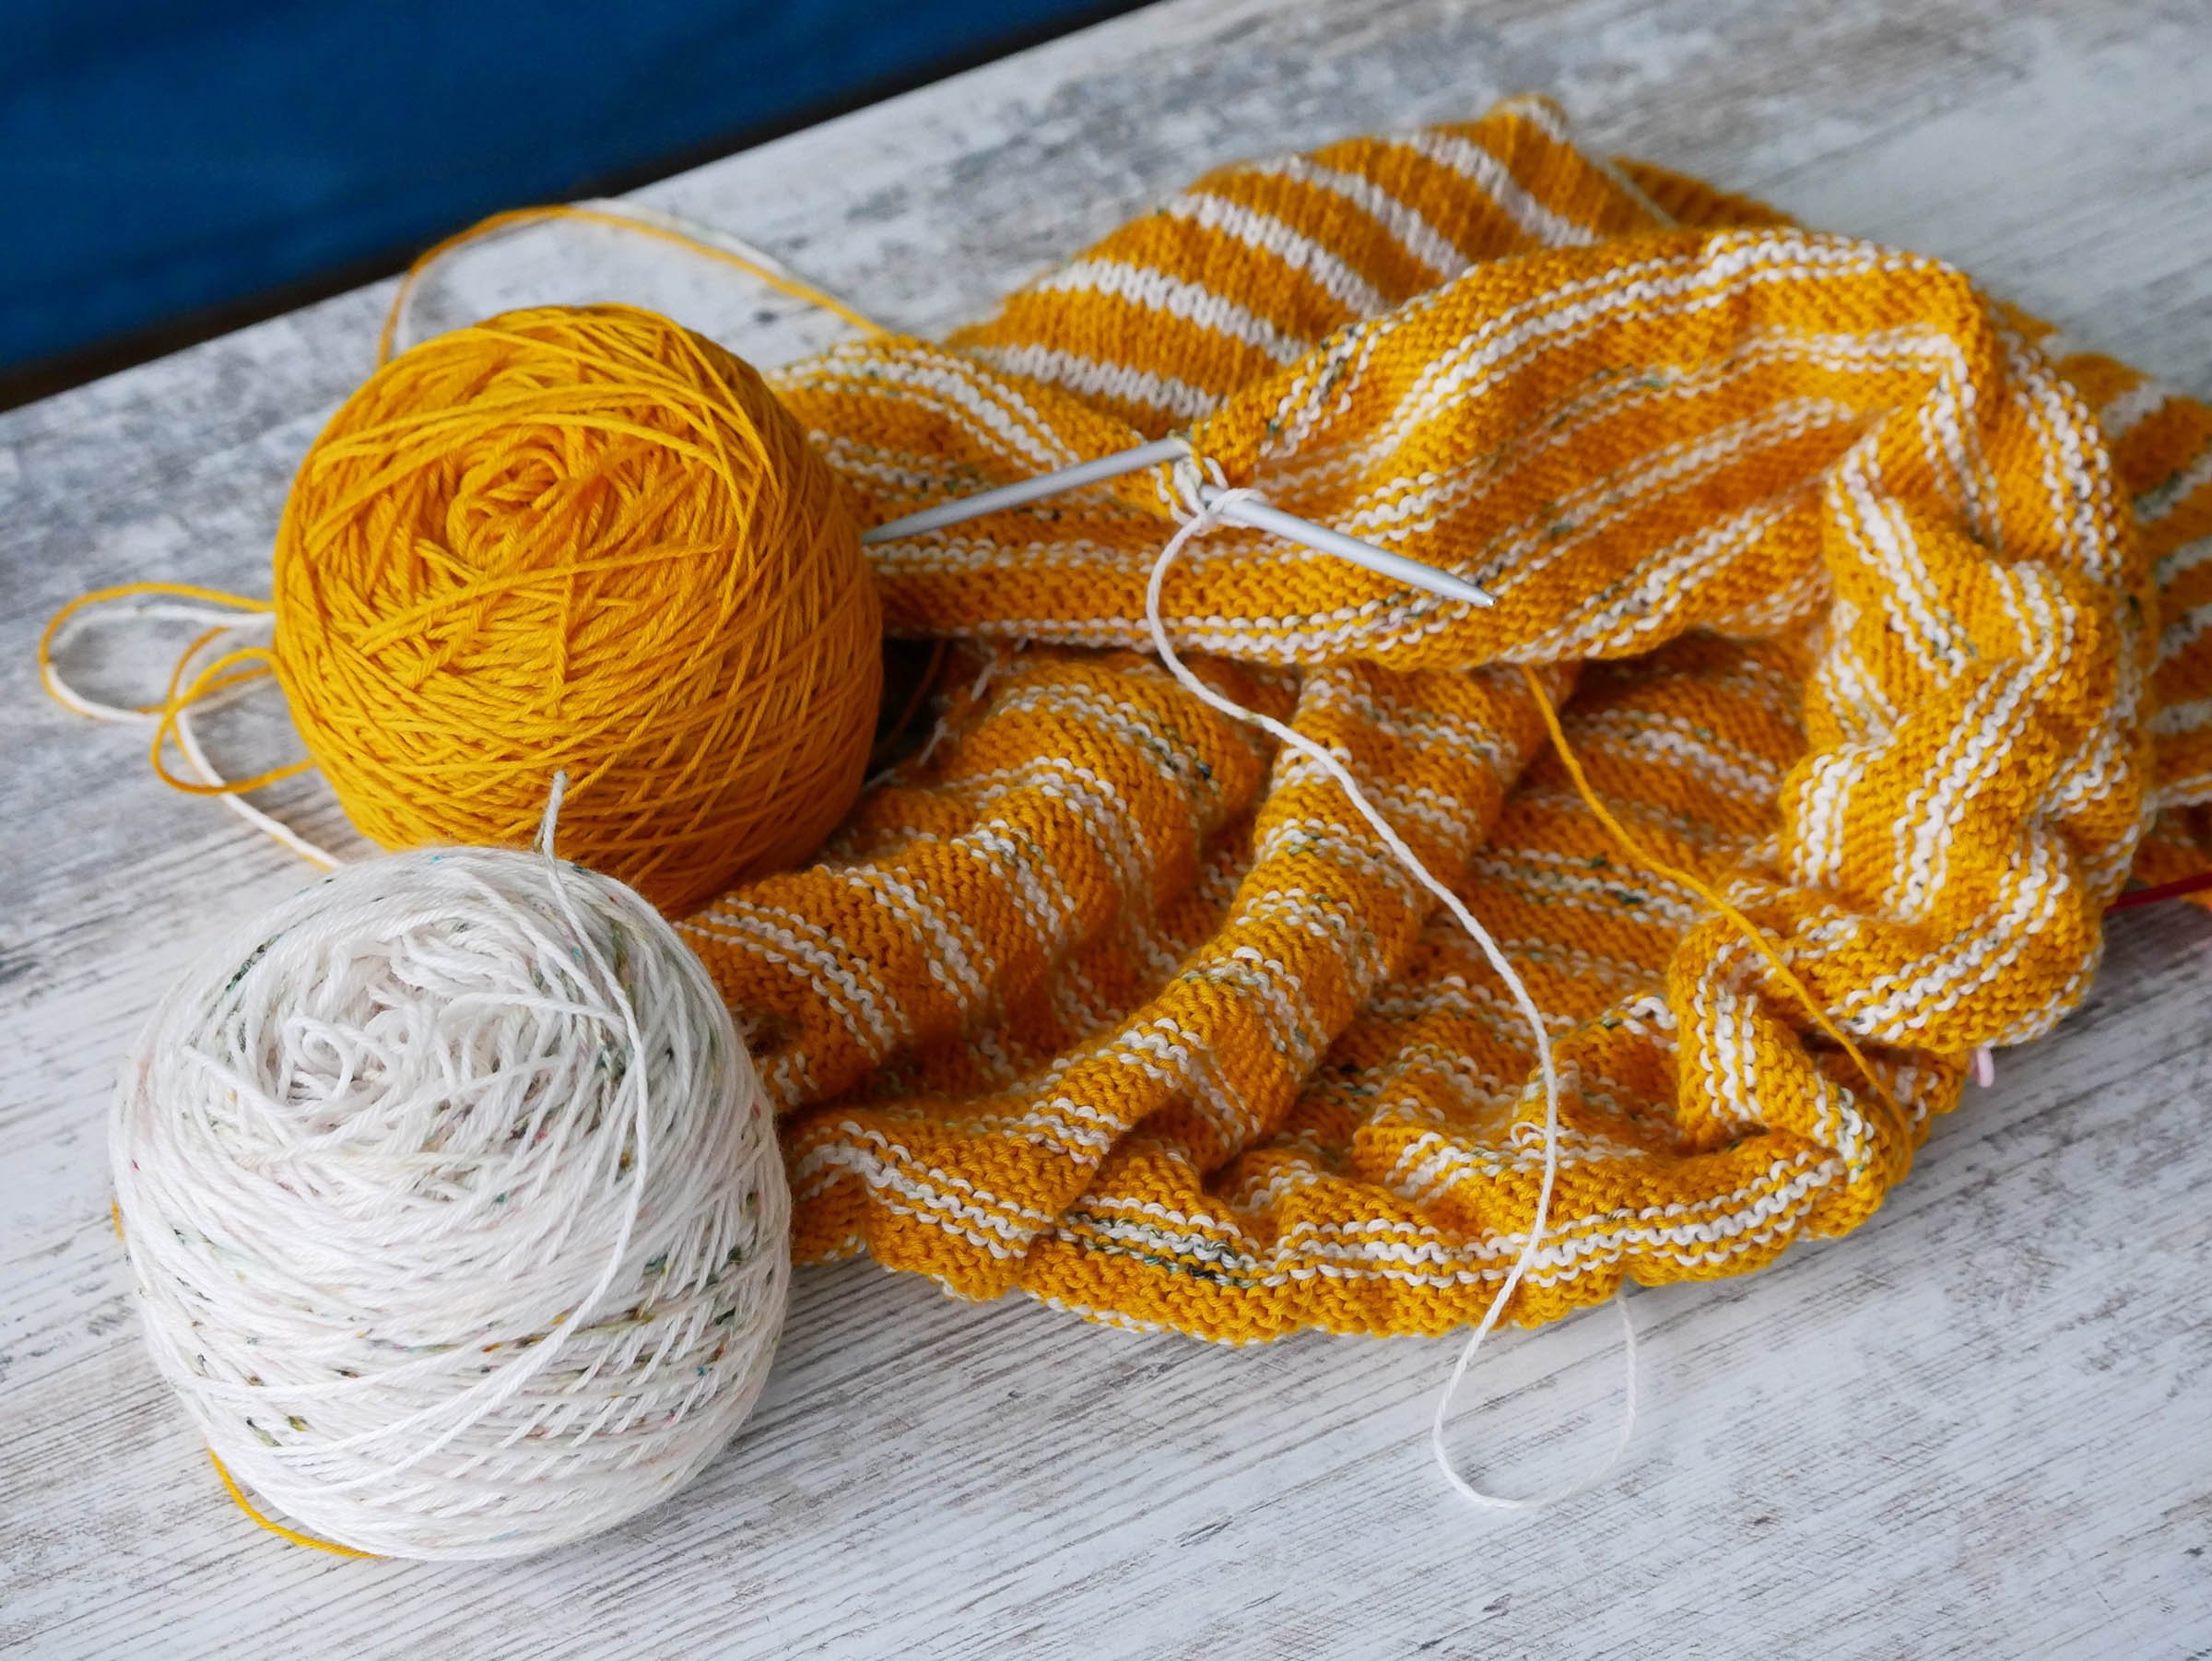
A striped orange-and-white project on a circular needle sits piled next to the balls of yarn on a rustic whitewashed wooden surface. The inside of the project is most plainly visible, showing the reverse stockinette side of the stripes.
However, there are also three ways to use circular needles: in a single loop (as one would suspect), using two shorter circular needles in place of four double-pointed needles, or using one long needle looped in the Magic Loop method. Since many people find circular needles easier to work with than double-pointed needles, you can usually use one of these three methods to suit your project needs. Not to mention the cash and space you’ll save with only having to buy needles of one type to cover the full range of circumferences.
(Click the links to go to my tutorials about how to knit in the round using each of these methods, or find them all in my Stitches and Techniques index.)
In the end, the type of needle you choose will often come down to personal preference. But keep this general guideline mind: double-pointed needles or Magic Loop method for small circumferences, and circular needles for large ones.
General Guideline: double-pointed needles or Magic Loop method for small circumferences, and circular needles for large ones.

A sock started on a set of four six-inch (15-cm) nickel-plated double-pointed needles. Sock design shown is Beanstalk Socks (returning to my shop soon).
Tip #2: Prevent ladders before they begin
The problem: after several rounds of your project, you notice what looks like a “run” in your knitting where your needles meet, with a long column of stitches with too much yarn between them. This can happen no matter which types of needles you choose, and it’s called “laddering”.
I’ve found three key ways to prevent this:
First, always begin your needle with a knit stitch, if possible. This allows for the least amount of distance between the new non-working needle and the one you just completed. If you must start with a purl stitch, make sure your working needle is below the non-working needle to simulate this effect.
Second, give your yarn a good tug after the first stitch of every needle. This reduces that gap even more, ensuring you don’t accidentally leave some extra yarn behind as you move past it.
Third, rotate your work around the needles as you go. Meaning, make sure the gap between needles isn’t always in the same place in your project by changing the location each round. This helps keep your tension more even and ensures your “stitches between the needles” don’t line up vertically, preventing the unsightly ladders you might otherwise see.
While I usually find the first two prevention measures to be enough, you might need to employ this last one, too, especially when using the Magic Loop Method with a single circular. Since Magic Loop requires pulling the extra cable length out between your stitches, rotating the location of this loop around the project can keep it from stretching out in a single spot.
Tip #3: Swatch in the round for circular projects
When knitting in the round, your tension will be different than if you knit back and forth—yes, even if you’re incorporating purl stitches in your design. (Or maybe especially then.)
If you’re knitting in the round, it’s imperative that you also do your gauge swatch in the round to match tension. The gauge given in circular knitting project patterns should be given in the round, and you may have a difficult time matching it with a flat swatch (and if you do, you’re resulting garment likely won’t fit and you’ll wonder why).
This doesn’t mean you need to make a knitted tube for your swatch, though you can. Doing so will take a lot more time and yarn than you need, however. Whereas swatching in the round means you create a swatch where you only ever knit from your leading edge, duplicating the tension you’ll have in your actual project. You do this by only knitting the area you’ll need for you swatch while carrying the yarn straight across behind the swatch in a float, like so:

The back side of a gauge swatch made in the round, showing the yarn floats.
To learn to make a swatch that duplicates the tension of knitting in the round but saves yarn and time, check out my tutorial about how to swatch in the round below:
I also recently saw another ingenious idea for swatching in the round, which will save even more yarn and create even better tension, because it prevents the swatch curling toward the back of the piece. (I think it was from designer Patty Lyons on her Instagram account, but I can’t find it now. If someone knows differently, please let me know so I can attribute properly.)

What I did for this swatch in the round is keep an extra three or four times the width of the swatch for each yarn float as I ran it back across, then used that float to work the next round instead of the working yarn. You keep alternating rows between the working yarn and using the yarn float to work the next row.
Kind of blew my mind when I saw it, and it works great. (Though, as you can see, I wasn’t keeping enough slack on my leading edge at first (on the right), which is why that part is more puckered. The slack gets used up as you work the first bit of the row, so make sure to leave more of a loop at the leading edge than you think you’ll need.)
I hope these tips give you a much more satisfying experience while knitting in the round. If you still have questions, feel free to reach out to me, or join my Ravelry community to ask questions and get help from a bevvy of experienced knitters.
And be sure to sign up to receive blog notifications in the sidebar to never miss a helpful post.
Happy knitting, magic-maker!


Get three easy tips to improve your circular knitting projects and fall in love with knitting in the round today!